

How To Plant Peonies
Best practices for site selection, soil preparation, timing, and post planting.
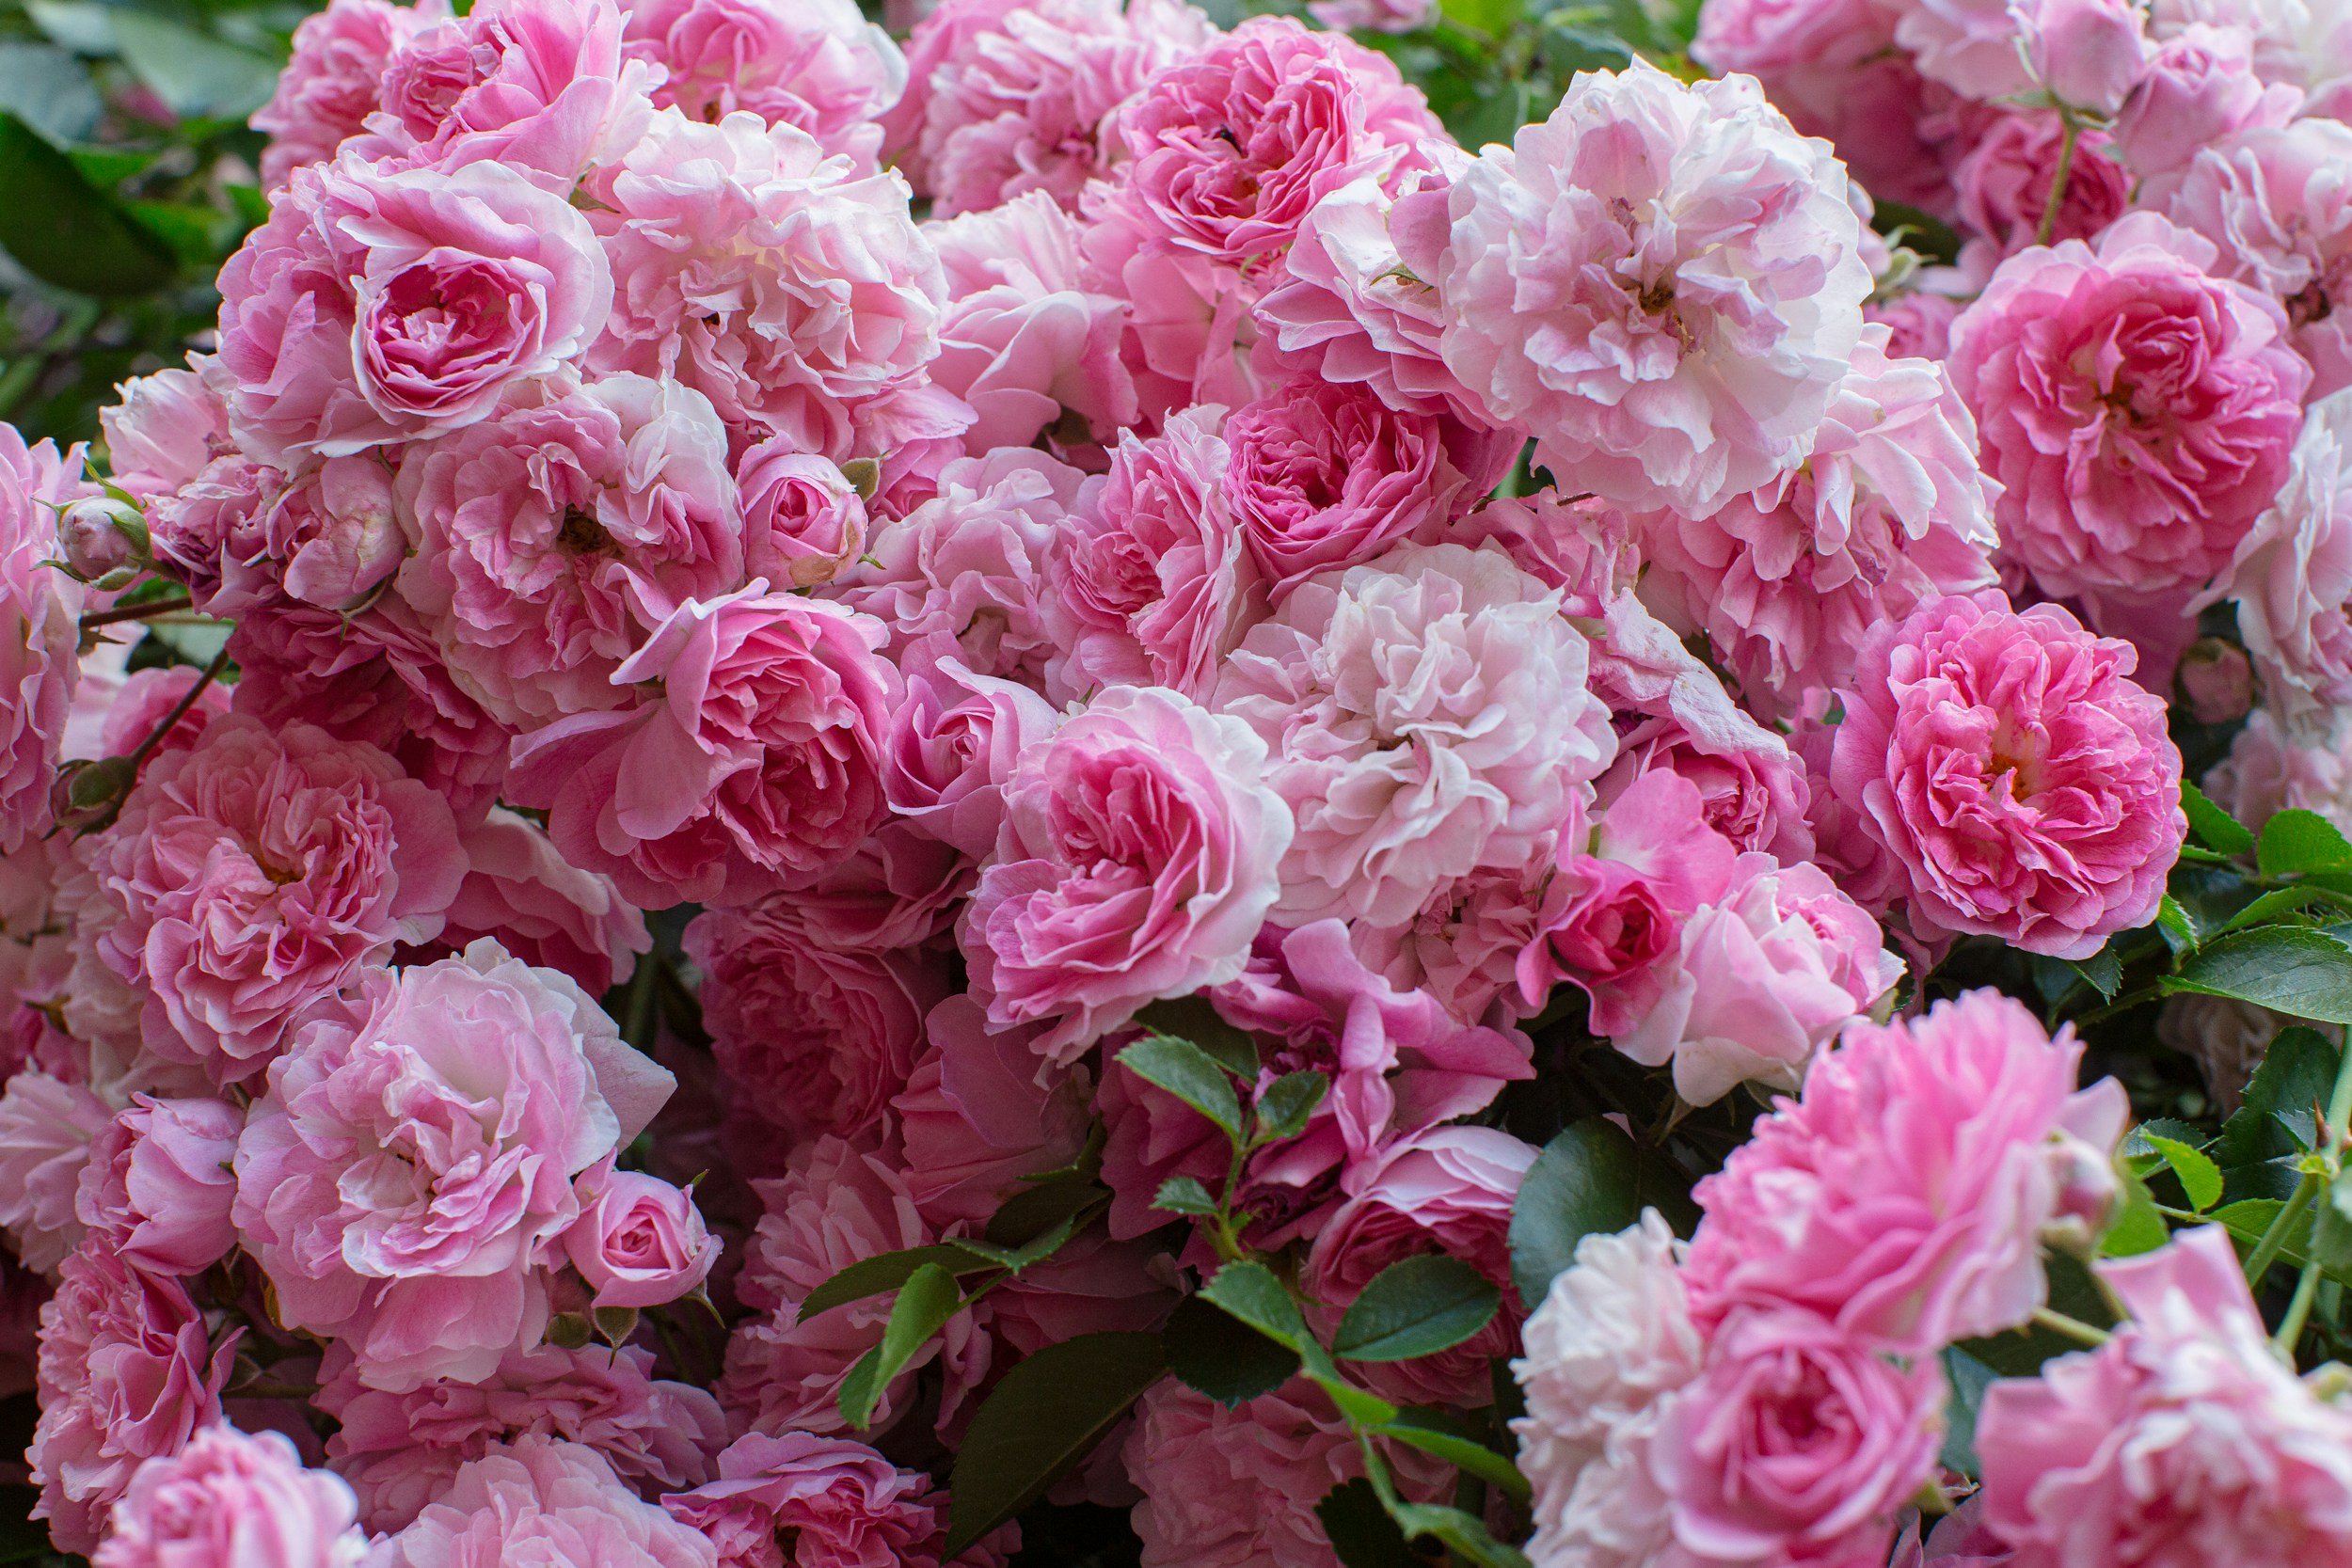
Photo courtesy of Luisa Brimble @louisabrimble
“It starts with site selection and leads to fertilizing, staking, and watering.”
It’s no secret peonies are the quintessential flower. Native to North America, Asia, and Europe, they represent thousands of years of careful cultivation and care reflected today in their ubiquitous admiration and use.
That makes the desire to grow peonies with practice to promote their optimal performance an obvious urge in all flower hobbyists and enthusiasts. Several factors are at play here and must be kept in mind when planning the establishment of any peony plant in any location.
It starts with site selecting, then fertilizing, staking, and watering, all of which help to build the best environment for the best possible blooms a peony can produce.
Timing
In most locations peonies are planted as bare root bulbs in the late autumn and are given the winter and establish themselves before the spring bloom. Although spring planting is possible, for the most part autumn planting is advisable as it produces the best flowers fastest. This gives the gardener the spring and summer to select a site and begin preparations for that coming autumn planting.
Keep in mind that it is better to prepare the site long in advance (late spring/early summer) than it is to do so nearer the time of planting. This will give the soil and site time to settle and for amendments to thoroughly work into the beds.

soil prepared for autumn planting.
“ Since peonies bloom in the spring, it is best to err on the side of full sun.”
Site selection
The first step is site selection. Although hardy and extremely rugged, peonies do have a preferred environment in which they thrive. Site selection is region specific, but generally a rule of thumb should be an open area with plenty of airflow, low woody competition, well drained soil, plenty of water, and at least eight hours of sunshine.
Look for locations that are at least 8 feet from any woody perennials such as trees, shrubs, and bushes. The site should be relatively elevated and not retaining or collecting standing water. Look for locations free of hollows or sinks and do not exhibit longstanding moisture retention. However, avoid excessively rocky, sandy, or gravelly soil. The site should be somewhere between loam and clay and hold the potential to become and remain fertile with later amendments.
Finally, the site should be free of excessive shading or limited sunlight exposure. It is unlikely peony growers live anywhere that the sun will prove to potent for peonies, so sites with at least eight hours of full to partially full sunlight are best for peonies. Since they will bloom in the spring, it is best to err on the side of full sunlight to ensure the plants are receiving ample light throughout the day. If, on the rare chance, anyone is growing peonies where the sun may prove to intense (such as Missouri or the like) then partial shade is acceptable.

Heavy clay soil before preparations.
Soil preparation
Peony beds should be well cared for and prepared before the bulbs are nestled in. This will require a good old fashion tube of elbow grease and the foresight to begin preparations well in advance of the actual planting date. All soil will need to be loosened and cleared of debris before amendments are added and irrigation and weed control measures are laid. Only then will the site be ready for peonies.
“The best practice is making a 10 dollar bed for a 1 dollar plant.”
1:
The ideal peony growing soil is rich loam with a pH of 6.0 to 7.0, well drained, and heavily amended. As state above, even if the site is naturally loamy, it will require a generous application of compost and amendments as peonies are veracious feeders and will need the extra boost annually to continue producing peak performance blooms.
2:
Begin by loosening the soil. This can be done with anything from a hand hole, a rototiller, or a tractor plow. Regardless of the method, the soil should be broken up and ‘lifted’ with all compacts and clods worked as small and loose as possible. This is crucial. Not only will breaking up the soil allow for easier amendment application but will also make the planting process more pleasant.
3:
Once the soil is sufficiently loosened it should be cleared of debris that may hinder or inhibit peony growth. This would be stones, sticks, roots, or anything else poking up or around the flower bed. The best practice is to make a 10 dollar bed for a 1 dollar plant. It is easiest to remove unwanted litter and material before the peonies are planted, so comb over the site thoroughly during the site preparations.
4:
Once the soil has been loosened the amendments can be added. Start with all pH adjustments first. If the soil is acidic, add prilled limestone or potash until the pH balance is closer to 6.0-7.0.
pH testing kits and probes can be fairly cheap and purchased anywhere around the web or the local garden store. Pick one within an acceptable budget that does not have terrible reviews and it will serve well enough. It really isn’t necessary to get precise here, the goal is to get close, and the cheaper testers will get the grower close enough.
“Bone meal, kelp meal, and a touch of blood meal do wonders.”

Loam soil after loosening and adding amendments
Once the soil is at or near the ideal pH balance, add and turn in a healthy does of compost. Be generous. As state above, peonies are hungry feeders. The more compost added at the beginning, the less will need to be added later on when your peonies are getting hungry. It’s recommendable that all compost used be thoroughly rotted and broken down.
Sterilized bags from the garden supply store are a good option, though if you are inclined to making your own, be sure it is cooled and completely blackened.
Be certain all compost and soil is sufficiently mixed and the compost has managed to get worked in as deeply as possible into the bed.
Finally, add bloom support amendments. Bone meal, kelp meal, and a touch of blood meal do wonders. Err on the side of bone meal and if blood meal is not an option then leave it out altogether. Kelp meal is a great aid to the bone meal as both are heavy in potassium and will promote showy blooms. This should be well mixed into the soil though not to the extent of the compost.
5:
If necessary, hill or mound the peony beds. If the site is in a particularly wet climate or is prone to heavy rains or prolonged moisture, elevating the roots can act as a safeguard against root rot and ‘wet-feet,’ both if which will reduce the flower productivity if not kill the peonies out right. If uncertain, hill or mound the site up slightly with a hoe in each intended planting spot. It’s better to be safe than sorry.


Woven Polypropylene as weed barrier in the field
Weed Barriers
“It’s an excellent barrier and prevents any osmotic movement of soil, seeds, or plant matter, from above and below.”
It is recommended most efforts to suppress or mitigate weeds or weed-management be performed before the peonies are planted. This applies to any fabrics or applications of weed suppressant herbicides. We don’t use herbicides on the farm and instead opt for weed barrier fabrics and mowing which reduces the need for weeding.
When choosing a weed barrier fabrics it’s best to look for four qualities:
1: Durability
2: Light suppression
3: Water permeability
4: Longevity
Typical garden center non-woven fabrics only cover one or two of these, so you may want to look elsewhere. Here on the farm, we use woven polypropylene as our weed barrier fabric as it covers all four of the above qualities and also aids in early soil warming, a necessity in Alaska.
Woven polypropylene composed of long strips of recycled polypropylene plastics spun and stretched into long strips. These strips are then woven into layered sheets of absorbent fabrics that is water permeable yet acts as an excellent barrier and prevents any osmotic movement of soil, seeds, or plant matter from above and below.


Polypropylene is extremely durable and will not tear or fray and maintains well even under the harsh conditions of direct sunlight. Our fabrics have been on the ground and in all weather types for over a decade and are still fresh and sturdy.
“ for the best possible weed prevention, woven polypropylene is the best choice for all around quality, efficiency, and longevity.”
Simply put, it is the best weed barrier on the market.
It may be difficult to find woven polypropylene at your typical garden center and you may need to look at a hardware center or construct dealership as polypropylene is more often used in road and foundation construct than farming or gardening.
This coupled with weekly mowing around the field perimeters has reduced our weeding needs by nearly 90% and requires only a tri-seasonal weeding session every year (pre-spring fertilization weeding, pre-harvest weeding, and pre-autumn fertilizer weeding), and only around the exposed holes from which the peonies grow.
If this is the weed control you opt for, then it is best to have it in position and ready before peonies are planted so it can be optimally situated and not hinder the peony growth habits.
We set the fabric after tilling and amending. Right before we plant new bulbs, we take a torch and carefully burn a 16X16 hole where the peony will be planted. This is large enough for the peony to expand into as it matures and allows for digging access during the planting process.
It is just as legitimate to use other weed barrier sources such as non-woven fabric, mulch, stray, etc. However, for the best possible weed prevention, woven polypropylene is the best choice for all around quality, efficiency, and longevity.
Irrigation

Image courtesy of Unplashed
For one or two peony plants, hand or garden watering is sufficient, either with a watering can or a garden attachment for a hose.
“The best choice for irrigating peonies would be direct soil irrigation.”
Many growers are not keen on the extra work needed to water their flowers by hand and so opt for more convenient options. If you are growing a large amount of peonies or peonies in a large bed or boarder and desire a less involved process of irrigation, then an irrigation system is required.
There are two rules for irrigating peonies:
1: Do not over-saturate the soil and create puddles of standing water.
2: Do not create an over abundance of suspended water particles and saturate the foliage.
Number one will cause root rot and leave to peony die-back or even the loss of the entire plant. Peonies are not keen on wet feet and will protest loudly if subjected to it for any extended or persistent period of time as the bulbs, although hardy, are susceptible to rot given they are not permitted to dry out.
Number two will lead to foliage diseases such as powdery and downy mildew and can promote the infestation of harmful insects such as thrips. Further, consistent saturation of the blooms will cause premature die back and pedal fall. In the best case scenario, they will droop and cause stem breakable, in the worst case scenario, they will rot.
The best choice for irrigating peonies would be direct soil irrigation as these systems work best to prevent disease and poor growing habits and are more cost effective and water efficient. Typically, all of these systems operate by slow emission of water through either an emitter orifice or porous materials and can generally be categorized as soaker hoses, drip emitters, and drip tape.
1:
Soaker hoses are the cheapest and least efficient of the options. They are typically porous hoses that emit water through controlled pressure in the line and irrigate via direct soil drip. Soaker hoses are best used when placed very near the base of the plant to ensure full soil Puddles and uneven watering are common with these systems and should be avoided for anything larger than a few plants in a small bed.
2:
By far the most industrial and by proxy expensive irrigation system would be an emitter system. This set up is highly involved and precise, with water moving through a central pressure control system through a distribution tube or hose to branched irrigation hoses. Water is applied through micro-emitters that drip water onto or into the soil at a controlled rate of flow. These come in three typical configurations.
1: Surface emitters are usually suspended above the soil anywhere from 3 inches to a foot and apply water through the micro-emitters suspended above the plant roots near the plant base. one to two emitters are applied per plant.
2: Direct surface emitters are laid directly on the soil with the micro-emitter facing skywards directly beneath each plant.
3: Sub-surface emitters work via the burying of the emitter a few inches beneath the soil or mulch directly around the plant. These are usually employed in very hot and very dry locations to help prevent as excessive atmospheric evaporation.
The full micro-emitter systems tend to be the most expensive of the options and are typically selected only by large-scale farming or commercial gardening and would not be recommended to home gardeners. Although they are the best option, they are not the most cost-effective.


“This is the most cost effective and efficient option for home growers and gardeners.”
3:
The final choice would be drip tape irrigation. This is a cost effective and efficient option for home growers and gardeners. They operate much like the emitter system as a series of daisy-chained irrigation hoses branching from a primary line, hose, or tube running off a much simpler pressure control module. the water runs through and fills the drip tape, and once at pressure will be released from orifices 1-2 feet apart as a slow drip.
The tape is applied directly on the soil and is not prone to uneven watering like soaker hoses but also are less prone than the emitter systems to breaking. Their only downside is the ease at which they clog and thus require annual ‘flushing’ and cleaning. However, they are also flexible and will not break if frozen.
We use drip tape on the farm and are happy with the results it give us. Although, at our scale, it would be wise to upgrade to the emitter system eventually, as of now we are more than pleased with the tape used.
Planting
“Peony bulbs should look fresh and plump.”

Image courtesy of Unplashed
With the site and soil sufficiently prepared, the peonies may now be planted. Keeping with the prior idea, this will be done between two and six month after the site has been prepped and the soil has had time to rest.
1:
Peonies are planted best as bare root bulbs or tubers in the autumn before they have gone dormant. When peonies are received, either from the local nursery, online nurseries, or wholesale producers, they should be inspected thoroughly.
There should be no black or white spotting, no breaks or damage, and no soft or rotting flesh. There should be fresh and lively sprout eyes on the crown and should look fresh, plump, clean, and clear of all infections or signs of disease.
If serious problems are found on your peony bulbs, it is advisable to discuss the issue with the supplier they were purchased from.
Do not soak, wet, or dry peony bulbs once they have been received.
Plant bulbs as soon as possible in the prepared site once they have been inspected for illness as this is the best practices for bulb survival and plant longevity.
If peonies cannot be planted immediately, it is safe to store the bulbs in a cool, dry place such as a refrigerate or cooler for up to a week without serious trouble. Keep in mind, though that the bulb does need to be planted as soon as possible.
2:
Sufficiently certain the bulbs are fresh and ready to plant, begin by digging a large whole big enough for the entire tuber to fit into and cover with 2 inches of soil. This will be larger than the bulb itself. It is helpful to think of the whole as 25% wider and 10% deeper than the tuber is wide and tall.
Remove debris such as stones, roots, and sticks as the hole is being dug.
“Not all peonies grow vertically; some prefer to spread their roots out horizontally.”
3:
Next, the crown of the peony needs to be identified. You are looking for a larger area of the tuber covered in a small grouping of red or green bulbs, which are the next seasons stems. A growth direction should be identified also by determining which way the lowest roots are running in relationship to which direction the stems will want to go.

Like tulips, peonies are planted as bare root bulbs in the late autumn. They should not be soaked or dried and should be planted as soon as possible. Image courtesy of Unplashed.
Be sure you do not accidentally plant the peony upside down or with the stems grow down and not up.
Hole depth and width can be confirmed at this point. Not all peonies grow vertically; some prefer to spread their roots out horizontally. The grower can tell the difference based on which direction the stem shoots are growing. It they grow opposite the lowest root, they are vertical growers. If they grow to the side of the lowest root, they are horizontal growers. This will determine whether a deeper or wider hole is dug.
“The best practice is to plant the root at a depth that keep the crown between 1 inch and 2 inches from the soil surface.”
4:
Depth is the most important factor to keep in mind here. the top of the crown should be no deeper and 2 inches (50 mm) from the soil’s surface. Planting any deeper will cause ‘shy bloomers,’ where the plant refuses to flower. It is better, then, to plant shallower than deeper.
However, keep in mind it is equally as detrimental to plant too shallow. Anything less than 1 inch deep (30 mm) will result in crown rot due to erosion and exposure to the surface.
The best practice is to plant the root at a depth that keep the crown between 1 inch and 2 inches from the soil surface.
5:
Once a sufficient hole has been dug and the root is placed inside, it is time to back fill. Only return clean, litter free soil to the hole. If more sticks and stones are uncovered, it is wise to remove them before shoveling the soil over the bulb.
Pat the hole gently during planting to firm up and settle the soil around the peony. Good soil to root contact is essential for the peony’s health and promised spring sprouting.
Unless the grower lives in an extremely dry and warm climate, it is advisable not to water the hole with the peony tuber in it until spring arrives. The peony needs only to establish and anchor itself in its new home.
Again, unless the grower is in a hot dry climate with little to no autumn rain fall, simply firming the soil around the plant is adequate.
“Fertilizing after planting ensures plenty of nutrition for the bulb before the winter and during the spring.”
Post Planting Fertilizer
Apply fertilizer at this point around and over the newly planted peony tuber. It is advisable to avoid manure or compost at this point. Bone and kelp meal are excellent additions at this point, as is rock phosphate and any synthetic fertilizers heavy in potassium and potash but low in Nitrogen, such as a 10-16-16 or 10-10-10 or similar ratios.
Fertilizing after planting ensures there is plenty of nutrition is available once the peony is established.
It is safe to apply sterilized manure or compost to the tops of the peony holes after they have been cut back for their first year.

Image courtesy of Unplashed
Winter covers
If the grower lives in a growing zone with cold (zone 5 or colder), then it is advisable to cover the newly planted peonies with straw or dried leaves to protect them from the elements throughout the winter. This would only need a single application and it is not necessary to repeat the action after the first year.

Conclusion
Although many steps are required by the grower before peonies can be properly planted in the garden or farm, it is essential that each are carried out if the goal is optimal blooming results. With a little foresight and elbow grease, peonies can be established with their best foot forward and given the best chance at thriving in their new environment.